Quieting things down and tuning the channels
How to cut the noise without losing the reminders that matter.
When the app warns you too much, the instinct is to turn everything off. That is almost always the wrong fix: the excess usually comes from the number of alerts per item, not from the channel.
The order that works is this one.
1. Reduce the default alerts
Under Settings → Alerts, look at Default alerts. If Events has three lead times — a day before, an hour before, fifteen minutes before — every appointment is producing three reminders. Leave one.
2. Silence the specific items
That recurring event that shows every day and never needed a warning: edit it and choose No alerts. Better than lowering the default for everything because of one.
3. Only then touch the channels
Under Notification channels:
- In-app alert — the notification with details and actions, while the app is open.
- Sound — plays when it fires. It is the first thing to turn off in a shared space; the alert still appears.
- Push notifications — what reaches you with the app closed.
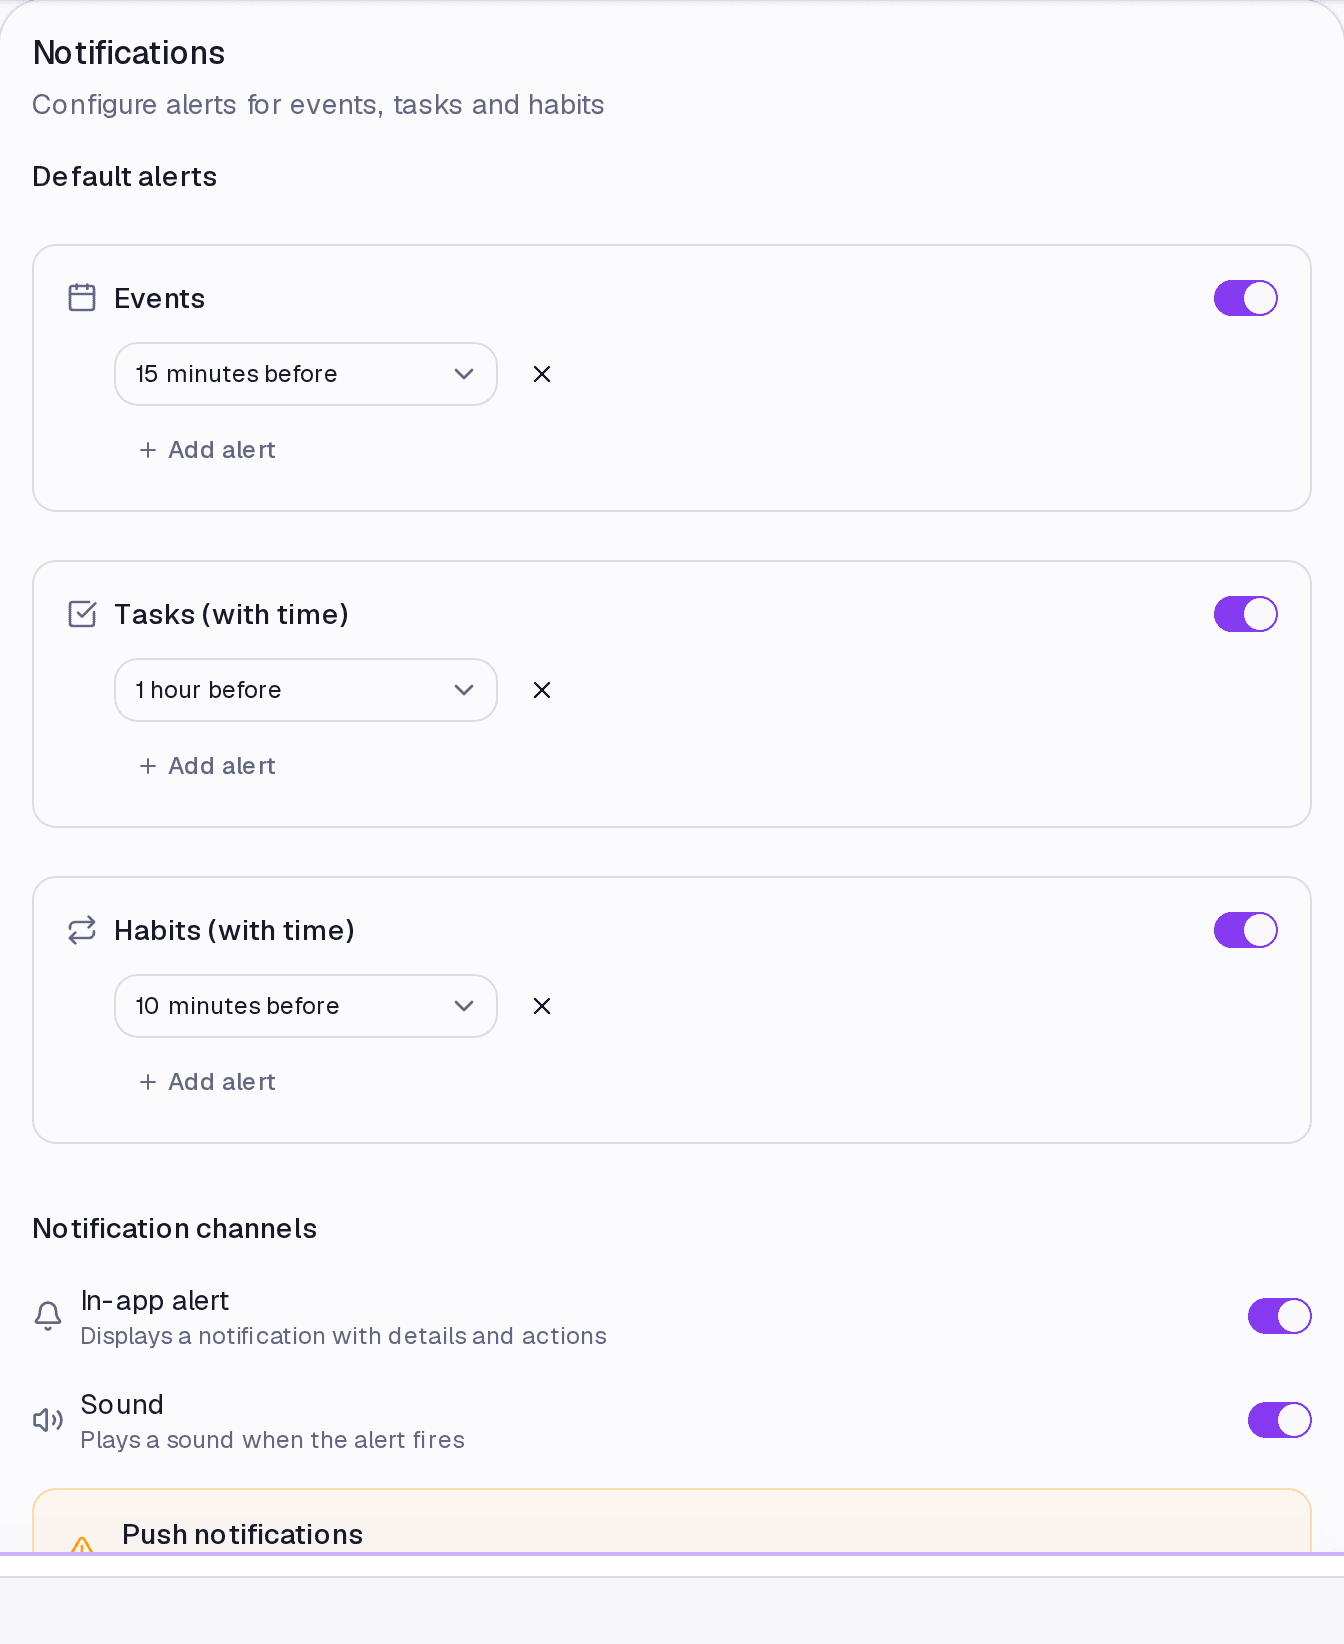
Where it lives
Settings → Alerts. The bell at the top of any screen shows recent alerts, including the ones you missed live.
Common questions
Is there a do-not-disturb schedule? Not today. The available controls are per item type and per item.
I turned everything off and still get notices about my trial ending. Those are about your account losing access, not about an appointment. They follow a different rule on purpose: losing access without warning is worse than one warning too many.
I silenced an item and it still alerts. Check that you edited the right item — on a recurring task, the setting lives on the template, in the Recurring tab.
Updated on August 26, 2026